Important things to do after installing WordPress
There’s nothing I love more than a fresh WordPress install. Everything is new, there’s so much potential, and it’s a beautiful blank canvas. But fact is, there’s a whole checklist of important things to do after installing WordPress. This WordPress to-do list is something I check off after every install to make sure I’ve not forgotten to do anything important.
CHANGE THE ADMIN USERNAME
Since “Admin” is the username by default, hackers will exploit this fact and attempt to log into WordPress sites using it. That’s why it’s important to change it immediately after installing WordPress (if you didn’t choose a different username during install already). This is an easy security measure that you can take that will prevent a lot of headache.
CHANGE YOUR PERMALINK STRUCTURE
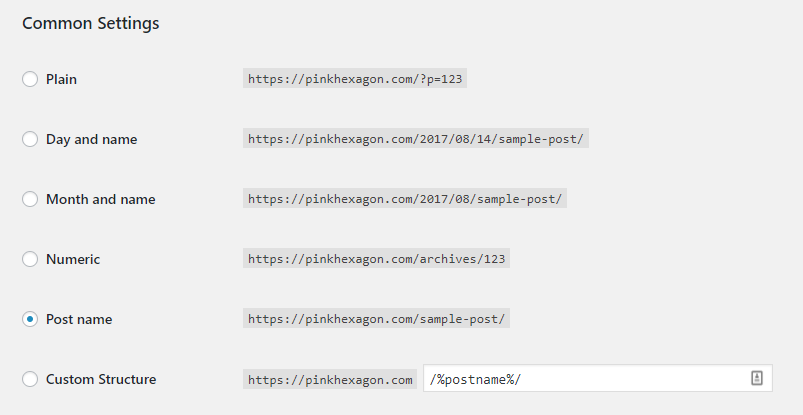
Changing the structure of your links is important – for sake of them looking nice, and more importantly for SEO. The default permalink format isn’t exactly pretty out of the box, and gives you indication what the page or blog post is about because it’s just the domain name (url) followed by a post number.
WordPress Default Permalink Format: https://domain.com/?=123
Custom Permalink: https://domain.com/post-name
The second URL looks a lot nicer, and it’s easier to read. More importantly, search engines like a descriptive URL that tells them what the post is about.
To change your permalink:
- Login to your WordPress Dashboard
- Click “Settings” at the left sidebar > “Permalinks” from the menu
- Select “Post Name” like in the example below
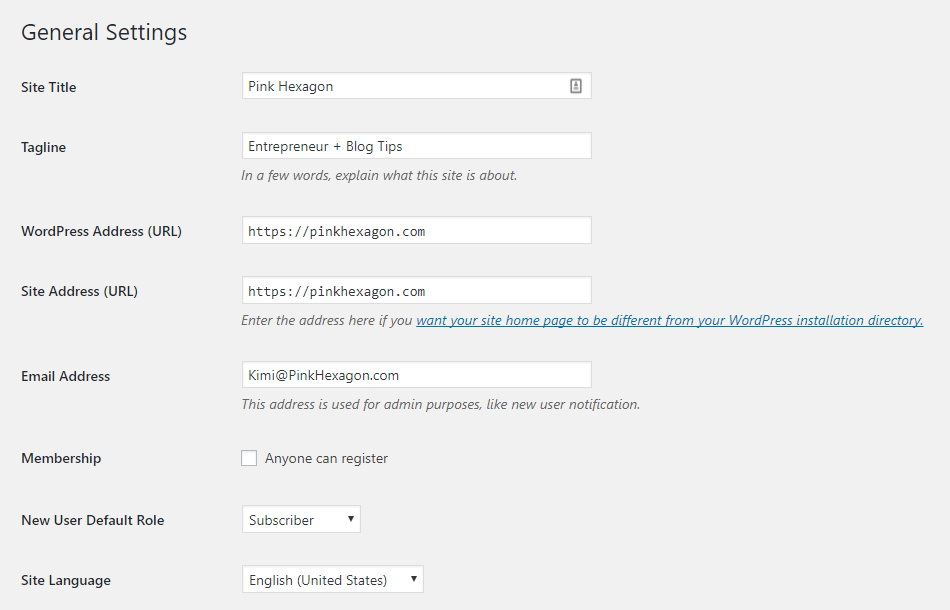
CHANGE YOUR BLOG TAGLINE
The default WordPress tagline says “Just another WordPress site”. Your tagline is a great SEO opportunity because it tells what your website is about.
By default WordPress as the tagline “Just another WordPress site”. Nothing says WordPress newbie like keeping that tagline. Worst of all, it tell nothing about your blog and is a missed SEO opportunity.
To change your tagline:
- Login to your WordPress Dashboard
- Click “Settings” at the left sidebar > “General” from the menu
- Edit the tagline field to something that describes your website in a few words
CHANGE DATE + TIME FORMAT
You can change the format of your date + timestamp based on your preference, as well as set your timezone.
To change your Date + Time format:
- Login to your WordPress Dashboard
- Click “Settings” at the left sidebar > “General” from the menu
- Scroll down and select your timezone + the date/time format you like best

UPDATE YOUR PROFILE INFORMATION
Updating your profile information is the key to how your author information is displayed on your website. I highly recommend that you fill out the profile info thoroughly as some themes rely on this information for some functionality.
By updating your WordPress user profile, you can change how your name appears on your post and modify your contact details and your password. It’s recommended that you provide as much information as possible to maximize your WordPress site.
To update your profile information:
- Login to your WordPress Dashboard
- Go to “Users” > “Your Profile” then start editing your profile.
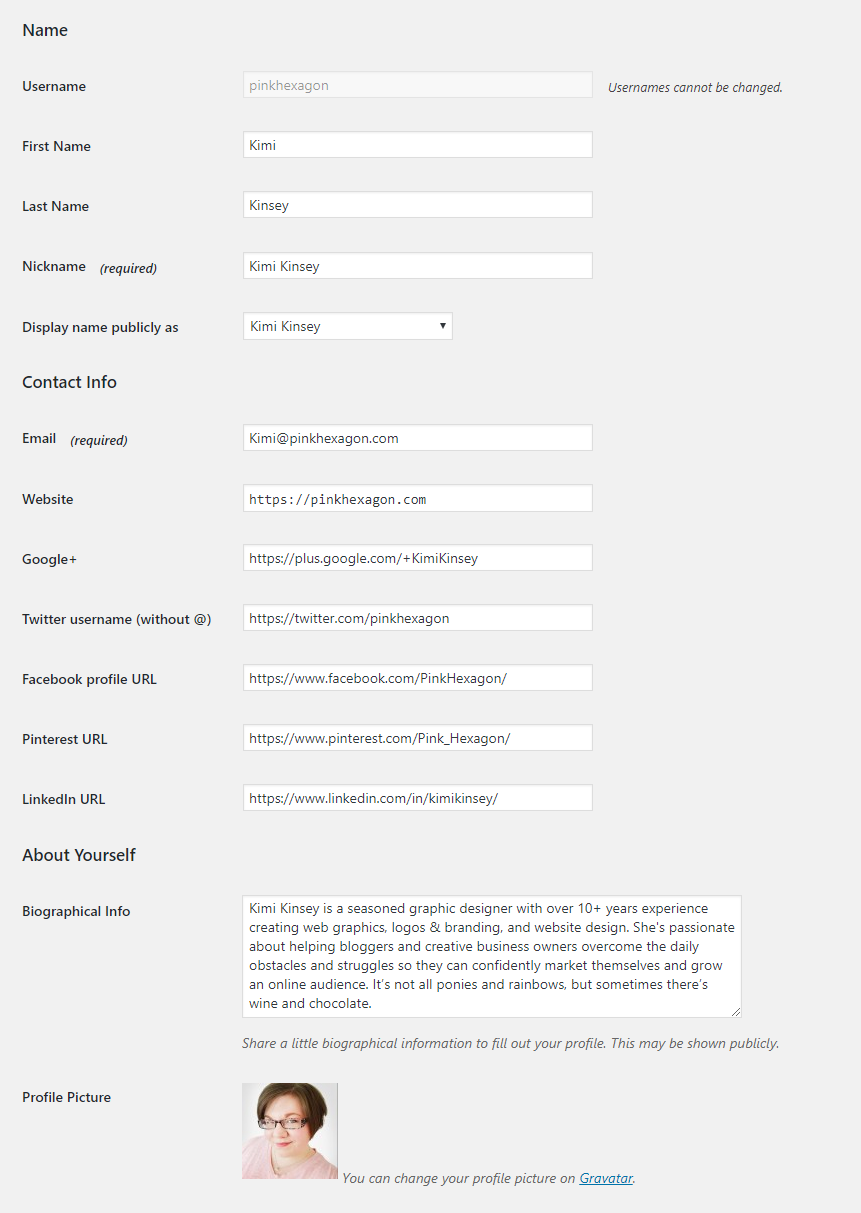
As you can see in my example above, I have filled out all of the information. It’s good practice to provide the URLs for all social media accounts associated with your blog/business. A great example of a way a theme might use this information can be found at the end of this blog post where you’ll see my author bio!
GET YOUR GRAVATAR
Gravatar is a WordPress integration that controls what picture shows up on WordPress author bios and when leaving comments based on the connected email address.
From the Gravatar Website:
“A Gravatar is a Globally Recognized Avatar. You upload it and create your profile just once, and then when you participate in any Gravatar-enabled site, your Gravatar image will automatically follow you there.”
CHOOSE + INSTALL YOUR THEME
Buy a WordPress theme that suits your style or brand. While there are plenty of nice, free themes available, premium themes often offer better customization options, utilize updated + best coding practices, and offer some amount of theme support.
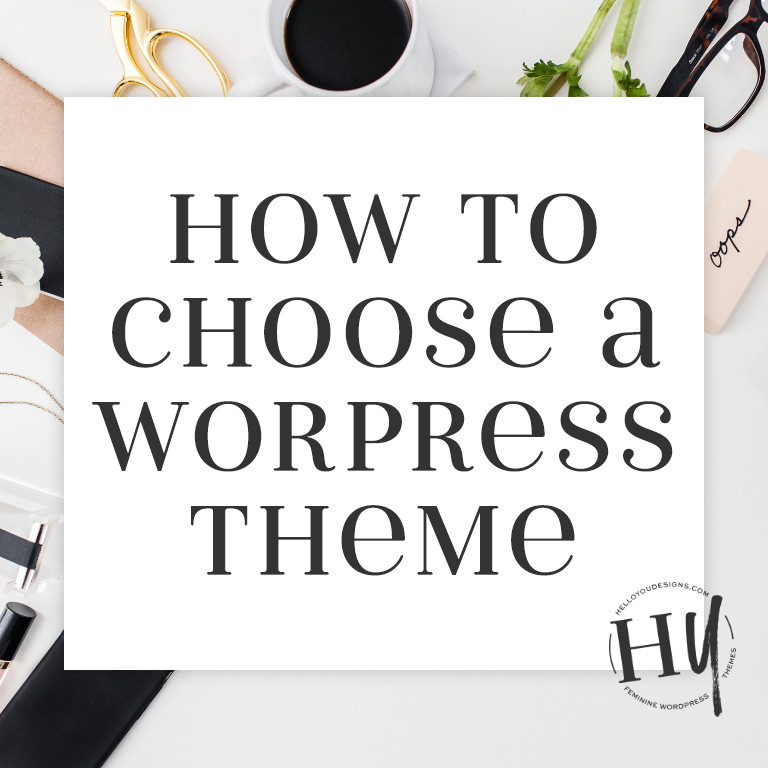
Further Reading: How to choose a WordPress theme
Once you’ve selected a theme and installed it, don’t forget to click “Activate” and read the support documentation so that you can set your new theme up correctly.
DELETE UNNECESSARY THEMES
WordPress often comes with 1-3 default themes installed. It’s good practice to delete any themes that you aren’t going to be using for saving space.
Pro Tip: Keep a basic theme like “Twenty Seventeen” installed just in case there’s ever something wrong with your theme and the only fix is to switch briefly to another theme.
INSTALL ESSENTIAL PLUGINS
Your WordPress theme might have plugins required for its functionality. Check out the support information for your theme and download all of the plugins it requires.
To install WordPress plugins:
- Login to your WordPress Dashboard
- Go to “Plugins” > “Add New” then start searching for plugins.
- Install + Activate the plugin – don’t forget that some plugins also require setup!
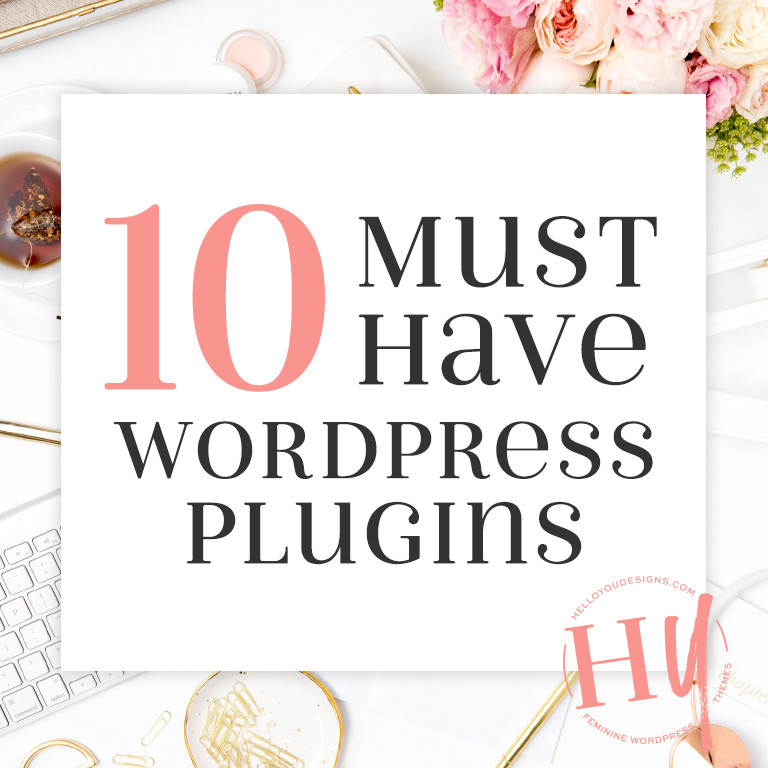
Further Reading: 10 Must Have WordPress Plugins
CONNECT GOOGLE ANALYTICS
Google Analytics is the industry standard in traffic and data tracking for your website. It tells us important information such as where your visitors are coming from, what pages they viewed, how long they visited, etc. You can install the code on your website manually by following the instructions provided by Google Analytics, or even by using plugins such as Google Analytics by MonsterInsights.
REMOVE SAMPLE CONTENT
Your new WordPress install will come with some sample content such as the “Hello World” blog post and other sample pages. Before your website goes live, you should delete all of the unnecessary sample content.
To Remove the Sample Post:
- Login to your WordPress Dashboard
- Go to “Posts” > “All Posts” then select to trash the sample post.
To Remove the Sample Pages:
- Login to your WordPress Dashboard
- Go to “Pages” > “All Pages” then select to trash the sample pages.
What important steps do you take after installing WordPress?
Let me know in the comments below what’s an important next step for you.