How to Add Snow to your WordPress Site

A few days ago we shared a site on Instagram that is has a very subtle snow effect and so many of you have reached out and wanted to know how this was done. There are a few ways to do it but the easiest is with a simple plugin that you can deactivate after the holidays. There are many plugins, free and paid. Below is the plugin we used to get the cute little blush snow effect in the photo above.
The Plugin
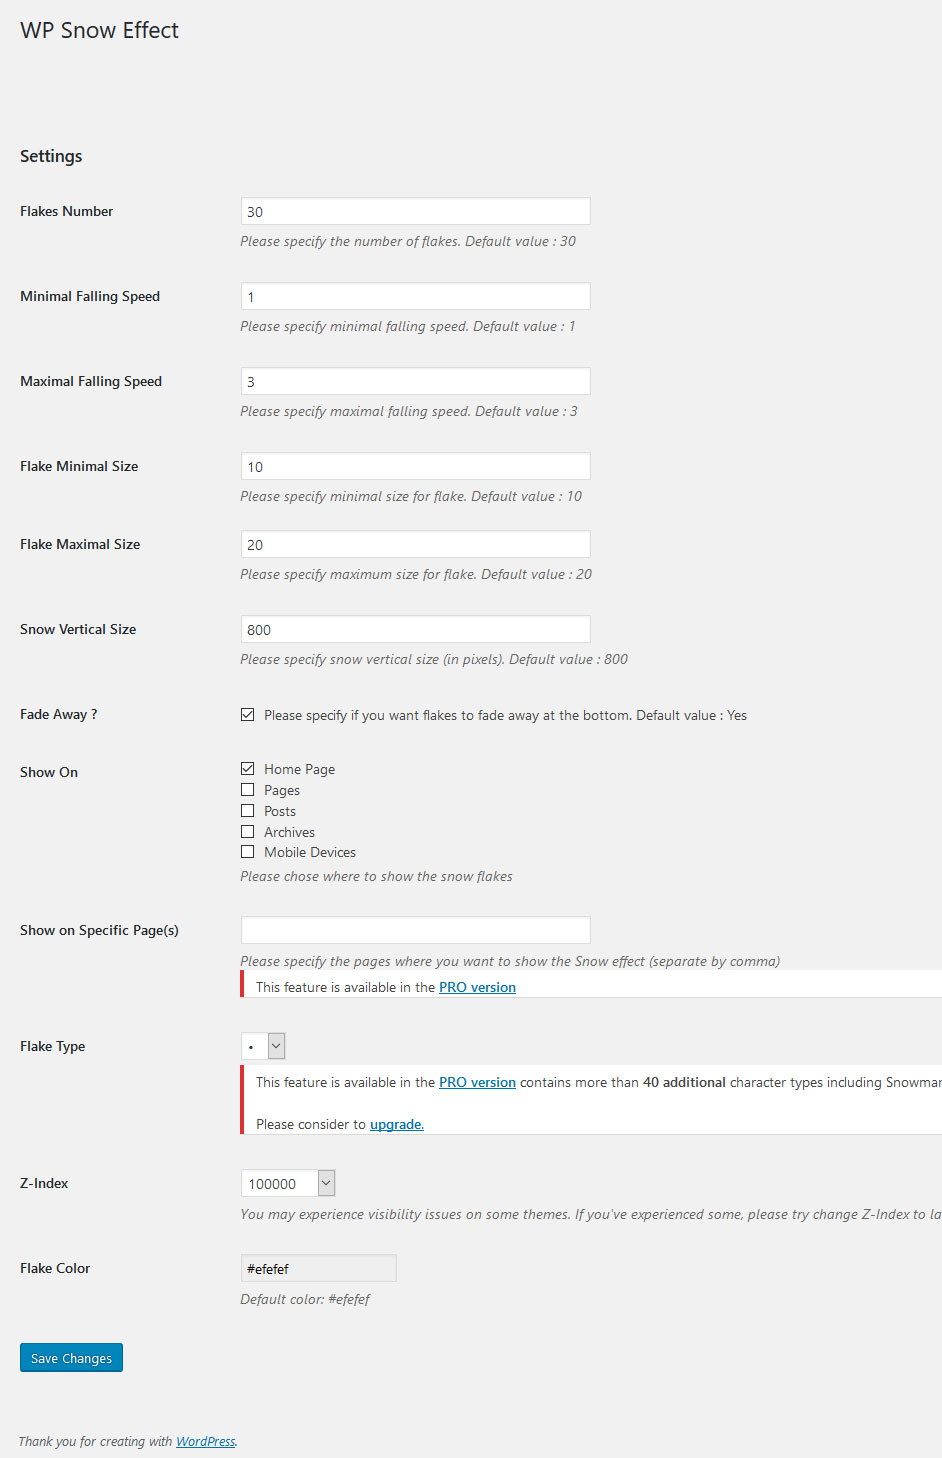
After testing out a few of the snow plugins, this is the one that I thought had the most options in the free version, WP Snow Effect. It has options to add it to the homepage, posts, pages and archives. If you want to specify specific pages/posts you would need to upgrade to the paid version. It also lets you choose how many flakes, the speed they fall, the color and even the sizes. There are options to change the snowflake shape but that is only in the paid version.
The Setup
Step 1: Like with any plugin addition make sure you save a backup of your site in case the plugin does not agree with your site settings.
Step 2: Download and activate the WP Snow Effect.
Step 3: After you have activated the plugin you go to Settings > WP Snow Effect to set how, where and even the color you would like. Below is the default settings.